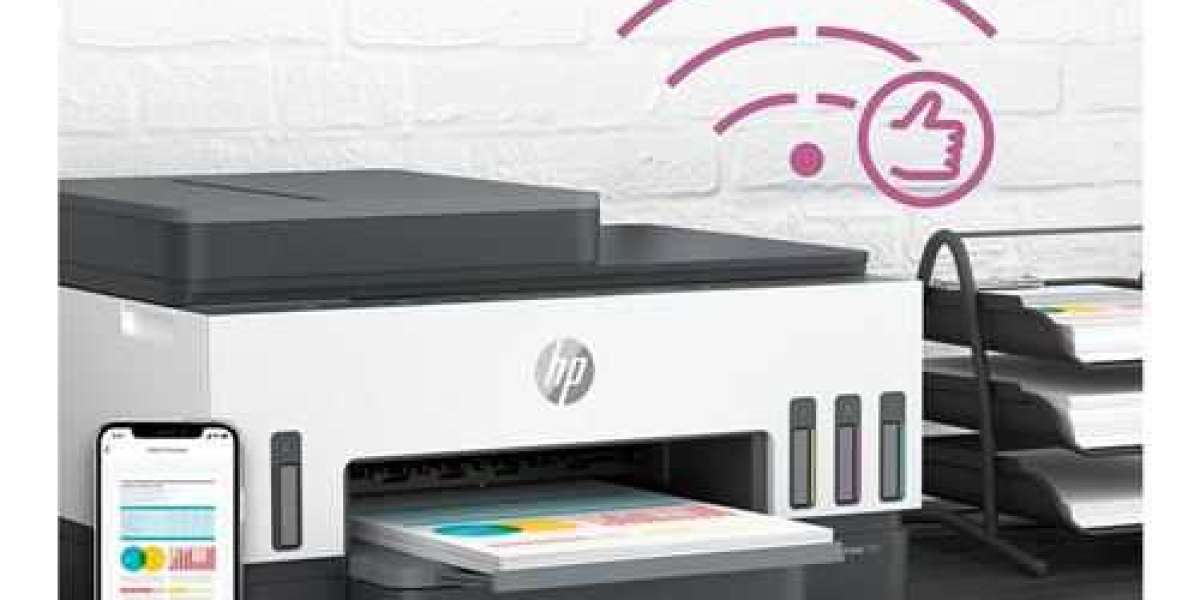
Connecting an HP printer to your wireless network can seem like a daunting task, but with the right guidance and a little know-how, you can make the process smooth and hassle-free. In this article, we’ll walk you through the steps to connect an HP printer to a wireless network, and we’ll also highlight how HP printer support can assist you when you need help with HP printers.
Method 1
Step 1: Unbox and Prepare Your HP Printer
Before we dive into the wireless setup, start by unboxing your HP printer. Remove any packaging materials, including tape and protective covers. Place your printer within range of your Wi-Fi router and ensure it’s connected to a power source.
Step 2: Access the Printer’s Control Panel
Most HP printers have a control panel with a touchscreen display. Use this interface to navigate the printer’s settings.
Step 3: Connect to Wi-Fi
1. On the printer’s control panel, locate and select the “Wireless” or “Network” option. This will initiate the setup process.
2. Follow the on-screen instructions to connect your printer to your Wi-Fi network.
3. You’ll be prompted to enter your Wi-Fi network’s password. This is where you’ll need to know the router’s Wi-Fi password. If you’ve changed the password and can’t remember it, refer to your router’s documentation or reset the password following the instructions provided.
Step 4: Install HP Printer Software
1. To complete the setup, visit the HP website and navigate to the “Software and Drivers” section.
2. Enter your printer’s model number and select the appropriate operating system.
3. Download and install the HP printer software on your computer. This software will allow your computer to communicate with the printer over the wireless network.
Step 5: Test Your Connection
After installing the software, perform a test print to ensure that your HP printer is successfully connected to the wireless network. If you encounter any issues during this step, it’s time to seek help with HP printers.
Step 6: HP Printer Support for Troubleshooting
1. If you encounter any difficulties or error messages during the setup process, don’t worry. HP offers robust printer support services to assist you.
2. Visit the official HP support website, where you can find troubleshooting guides, FAQs, and driver downloads.
3. For personalized assistance, you can contact HP printer support via phone or live chat. The HP support team is available to help you resolve any issues and get your printer up and running on the wireless network.
Method 2
Connecting an HP printer to a wireless network using the WPS (Wi-Fi Protected Setup) push button method is relatively simple and convenient. Here are the steps to do so:
1. Prepare Your Printer
Ensure your HP printer is powered on and in a ready state.
Make sure your wireless router or access point has a functioning WPS button.
2. Locate the WPS Button on Your Printer
Most HP printers have a control panel with buttons and a screen. Locate and access the network or wireless settings from the control panel.
3. Access WPS Setup
Navigate through the control panel menu to find the wireless setup or network setup option. This may vary depending on your printer model.
4. Initiate WPS Setup
Select the option to set up a wireless network connection using WPS.
Your printer will prompt you to press the WPS button on your router or access point.
5. Press the WPS Button on Your Router
Locate the WPS button on your wireless router or access point. It’s typically labeled “WPS” or has a WPS symbol/icon.
6. Activate WPS on the Router
Press and hold the WPS button on your router for a few seconds (usually about 2 minutes). The router will initiate the WPS pairing process.
7. Complete the Connection
Your HP printer will detect the WPS signal from the router and establish a secure wireless connection automatically.
The printer’s control panel or screen will display a confirmation message indicating that the connection is successful.
8. Print a Network Configuration Page (Optional
To verify that your printer is connected to the wireless network, you can print a network configuration page from the printer. This page will display information about the network settings, including the network name (SSID) and IP address.
9. Testing the Connection
To ensure that your HP printer is connected and functioning correctly on the wireless network, try printing a test page or document wirelessly from your computer or mobile device.
10. Secure Your Wireless Network
After successfully connecting your printer using WPS, it’s a good practice to secure your wireless network with a strong password (WPA/WPA2). This will help protect your network from unauthorized access.
By following these steps, you can easily connect your HP printer to a wireless network using the WPS push button method. This method is convenient and helps you avoid the complexities of manual network configuration.
Conclusion: Seamless Wireless Printing with HP
Connecting an HP printer to a wireless network may seem challenging, but with the right steps and the support of HP printer support services, it becomes a straightforward task. By following the steps outlined in this article and seeking help when needed, you can enjoy the convenience of wireless printing from your HP printer. Say goodbye to tangled cables and embrace the freedom of hassle-free printing with your HP printer on your wireless network.
Still confused? Read this blog to understand how to connect an HP printer to your wireless network. You can also go for expert assistance in connecting your HP printer to the wireless network.