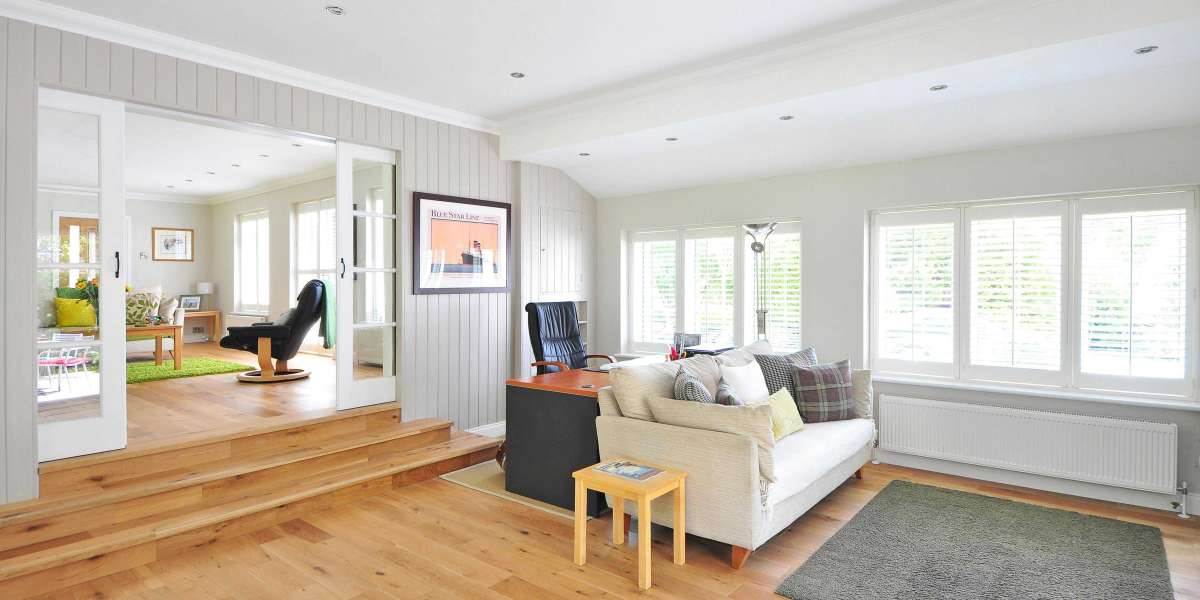
Installing hardwood flooring can dramatically enhance the look and feel of your home. It adds a touch of elegance and timelessness that can complement any décor. If you’re considering a DIY project or simply want to understand the process better, this step-by-step guide will walk you through the essential stages of hardwood flooring installation. This guide will also feature tips from Ottawa Renovations Contractors, a trusted name in Ottawa for quality flooring solutions.
1. Plan and Prepare
Before you start installing your hardwood flooring, it's crucial to plan and prepare thoroughly.
Choose Your Hardwood:
Select the type of hardwood that fits your style and budget. Oak, maple, and cherry are popular choices. Consider the finish and color that will complement your home’s interior.
Measure the Space:
Accurate measurements are essential. Measure the length and width of the room to determine how much flooring you’ll need. Remember to account for the waste factor, typically about 10%.
Acclimate the Wood:
Allow the hardwood to acclimate to the room’s temperature and humidity for at least 48 hours before installation. This helps prevent warping and ensures a better fit.
2. Prepare the Subfloor
The subfloor is the base on which your hardwood will be installed. Proper preparation of the subfloor is vital for a smooth and durable installation.
Check the Subfloor Condition:
Ensure that the subfloor is clean, dry, and level. Any imperfections can cause problems with the hardwood installation. Use a level to check for any high or low spots.
Repair Any Issues:
If you find any damage or irregularities, repair them before proceeding. Use a leveling compound to address low spots and sand down any high spots.
Install Underlayment:
Depending on the type of hardwood and your subfloor, you may need an underlayment. This layer helps with sound absorption and provides a moisture barrier.
3. Lay the First Row
Starting with the first row of planks is crucial for setting the tone of the installation.
Position the Planks:
Start in a corner of the room and place the first row of planks along the longest wall. Use spacers to maintain a gap between the planks and the wall for expansion.
Secure the Planks:
If you're using nail-down or staple-down flooring, secure the planks to the subfloor. For glue-down installations, apply the adhesive as per the manufacturer's instructions.
Check Alignment:
Use a level to ensure that the planks are straight and aligned correctly. Any misalignment at this stage will affect the entire floor.
4. Install the Remaining Rows
Once the first row is in place, continue with the remaining rows.
Stagger the Joints:
For a more natural look and to increase the stability of the floor, stagger the joints between rows. Avoid placing joints directly over one another.
Continue to Install Planks:
Work your way across the room, fitting each plank into the previous row. Use a tapping block and a mallet to ensure a snug fit between planks.
Cut Planks as Needed:
Measure and cut the last row of planks to fit. You may need to use a saw for this task. Ensure that the cuts are precise to avoid gaps.
5. Finishing Touches
With the majority of the installation complete, it's time for the finishing touches.
Install Baseboards and Trim:
Once the flooring is installed, reattach or install new baseboards and trim to cover the expansion gap. Use finishing nails or adhesive to secure them.
Clean the Floor:
Sweep or vacuum the floor to remove any dust or debris. Follow up with a gentle cleaning solution suitable for hardwood floors.
Apply a Finish (if needed):
If your hardwood flooring is unfinished, you’ll need to apply a finish. Follow the manufacturer’s instructions for application and drying times.
6. Maintenance Tips
Maintaining your hardwood floor is essential for keeping it looking beautiful and lasting for years.
Regular Cleaning:
Sweep or vacuum regularly to remove dirt and debris. Use a damp mop with a hardwood floor cleaner to clean the surface.
Protect the Floor:
Place felt pads under furniture legs to prevent scratches. Avoid using harsh chemicals or wax-based cleaners.
Manage Humidity:
Maintain consistent humidity levels in your home to prevent the wood from expanding or contracting.
Final Thoughts
Installing hardwood flooring is a rewarding project that can enhance the beauty and value of your home. By following these steps, you’ll ensure a smooth installation process and a stunning finished product. If you need professional assistance or are looking for expert advice, Ottawa Renovations Contractors are a reliable choice for high-quality flooring solutions. They can guide you through the process and handle the installation with precision.
For those in Ottawa, finding the right Ottawa Hardwood Floor to match your needs and preferences is key. Whether you're tackling the project yourself or hiring professionals, having a clear understanding of the installation process will lead to better results and a more enjoyable experience.
With careful planning, proper preparation, and attention to detail, you can achieve beautiful hardwood floors that will enhance your living space for years to come.


